Troubleshooting Android Issues
Creating a 100% perfect native management tool is nearly impossible, and sooner or later you’ll run into various issues with some part of the Android workflow.
This guide attempts to document common Android issues with possible solutions.
Android Toolbox
Every Android developer learns a few common techniques for debugging Android issues, and you should incorporate these into your workflow:
Google, Google, Google
Any time you encounter an issue with Android, or Gradle, or Emulators, your first step should be to copy and paste the error into a Google search.
Capacitor uses the standard Android toolkit, so chances are if you run into something, many Android developers have as well, and there’s a solution out there.
It could be as simple as updating a dependency, running Gradle sync, or invalidating caches.
Gradle Sync
If you have installed a new Plugin from npm and are unable to use or see the plugins in your Android build, try using the “Sync Project with Gradle Files” button in the top right of Android Studio (the icon looks like an elephant). This will re-sync your native Android code to include the new plugin code and should allow use of your new plugin. For more info, see this issue on Github.
It can also help with many other seemingly random issues, so running “Sync Project with Gradle Files” is always a good first step when running into most Android build issues.
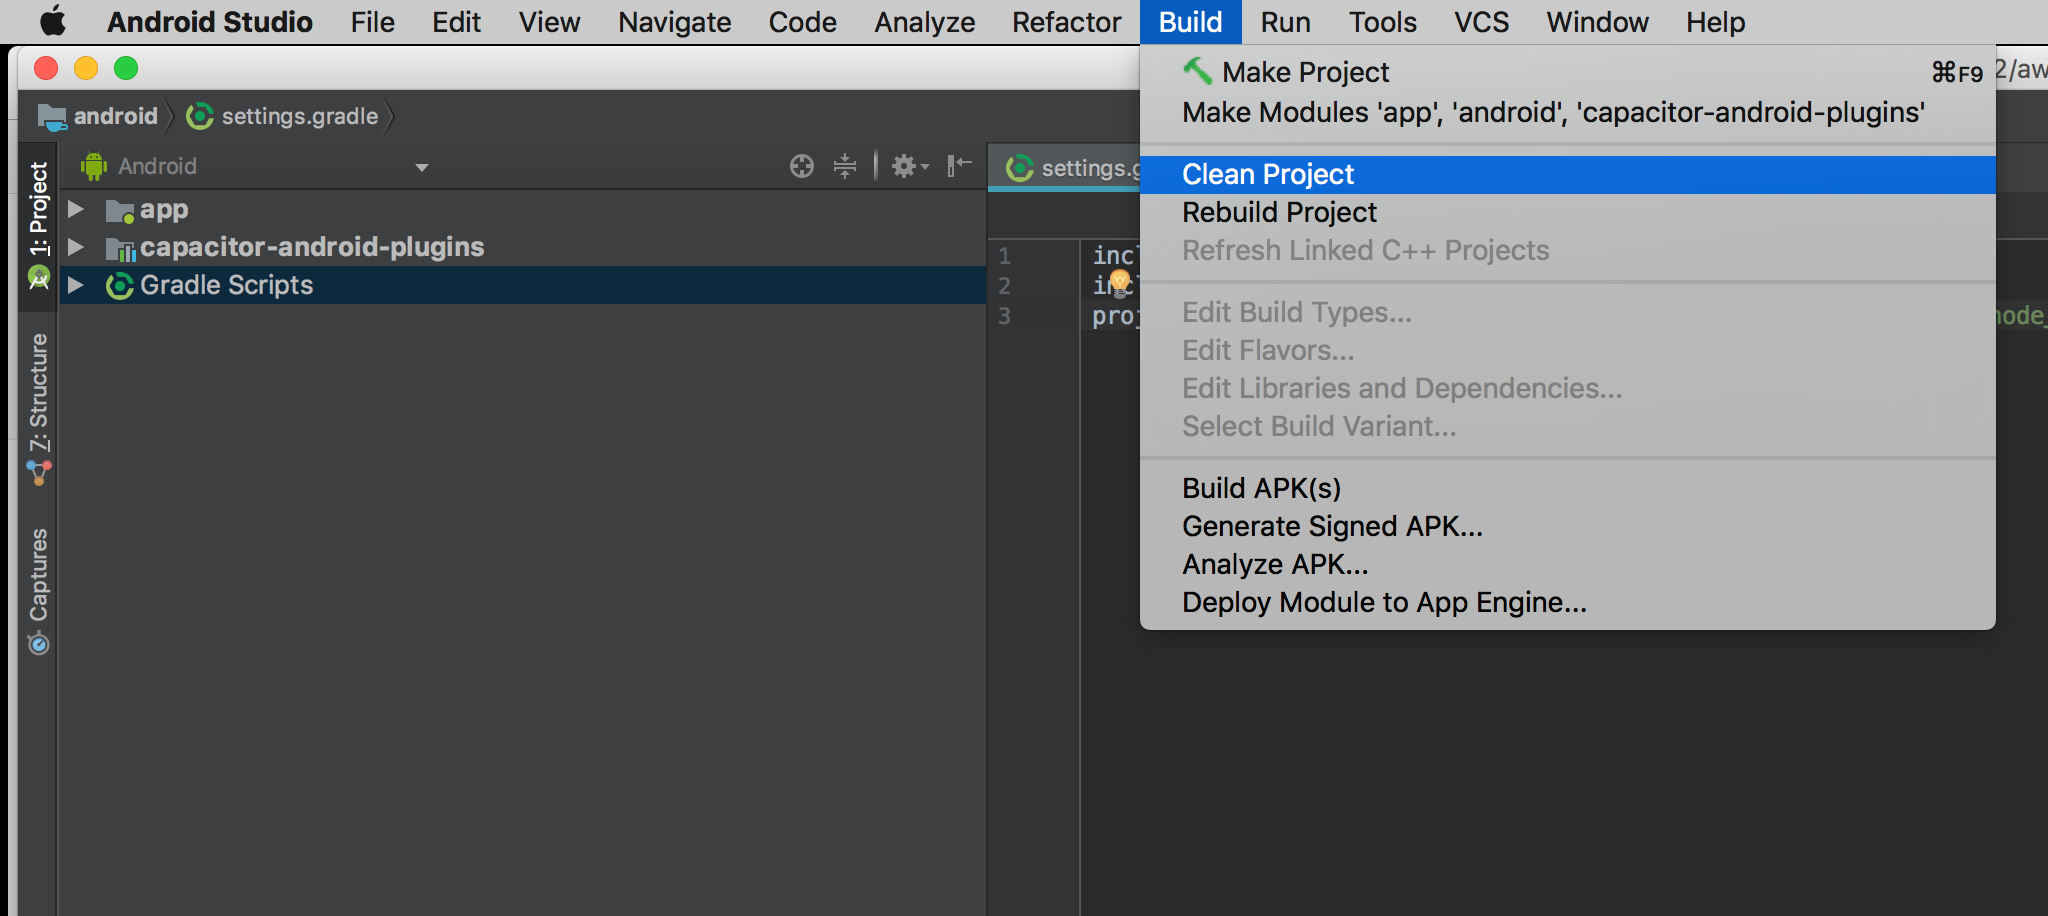
Clean/Rebuild
Cleaning and rebuilding can fix a number of build issues:
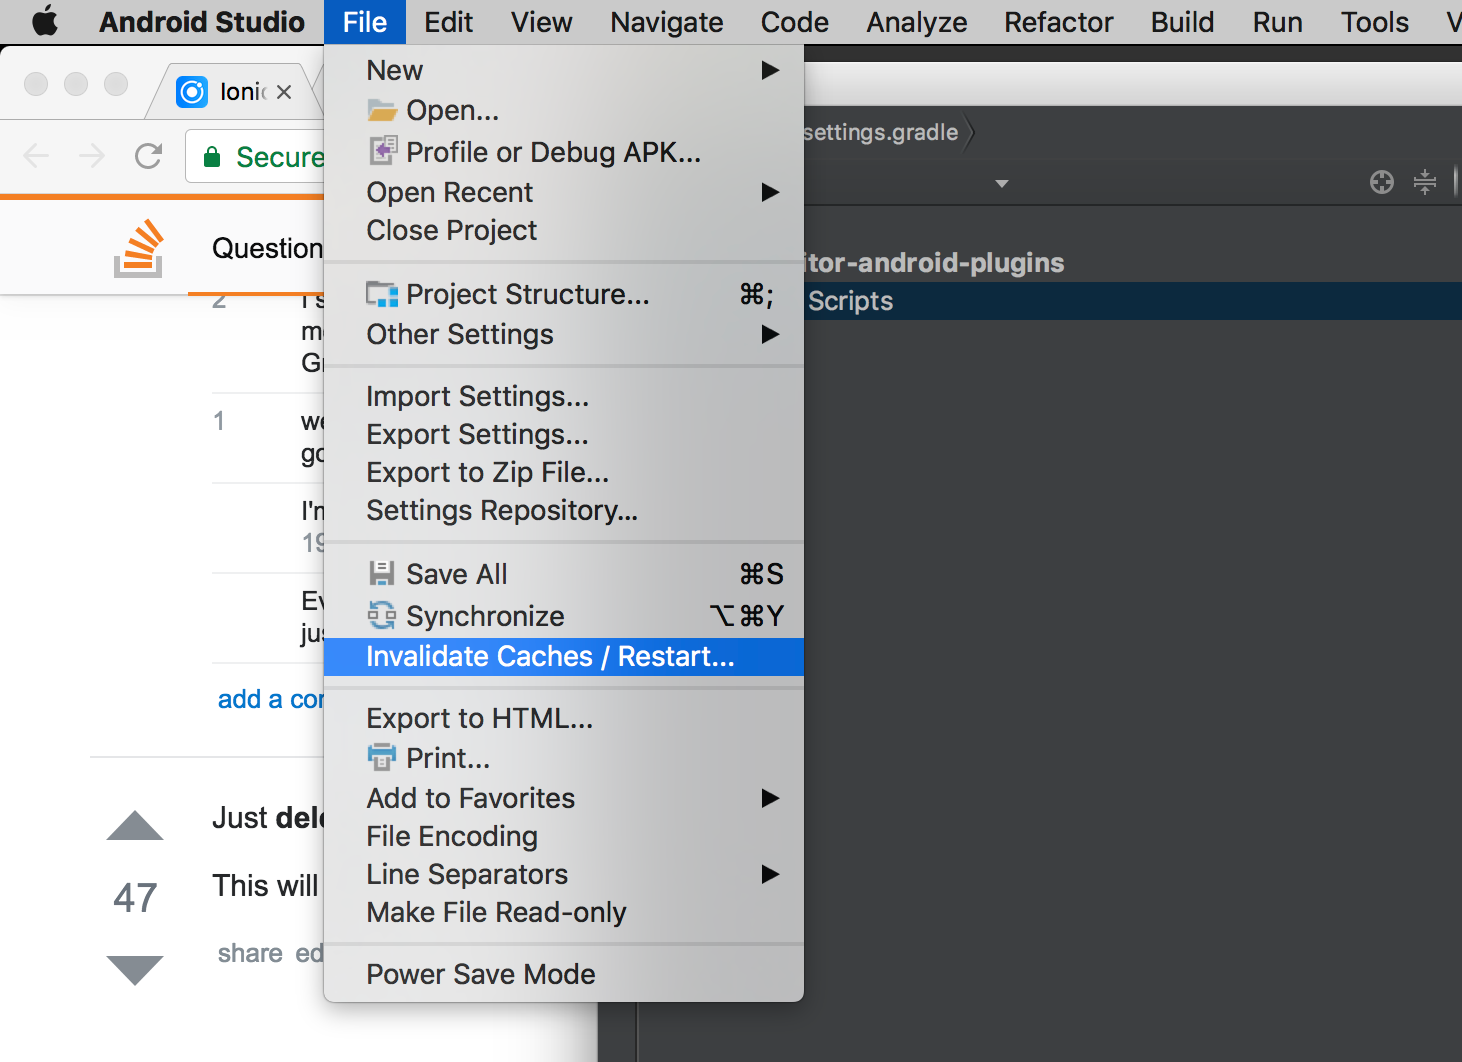
Invalidate Caches/Restart
If you’re confident you fixed an issue, but Android Studio or Gradle doesn’t agree, often the solution is to have Android Studio invalidate its caches and restart the program.
That can be done easily from the File menu:
Error: “package android.support.* does not exist”
This error occurs when some Cordova or Capacitor plugin has old android support dependencies instead of using the new AndroidX equivalent. You should report the issue in the plugin repository so the maintainers can update the plugin to use AndroidX dependencies.
As a workaround, you can also patch the plugin using jetifier:
npm install jetifier
npx jetify
npx cap sync android
Error: “Please select Android SDK”
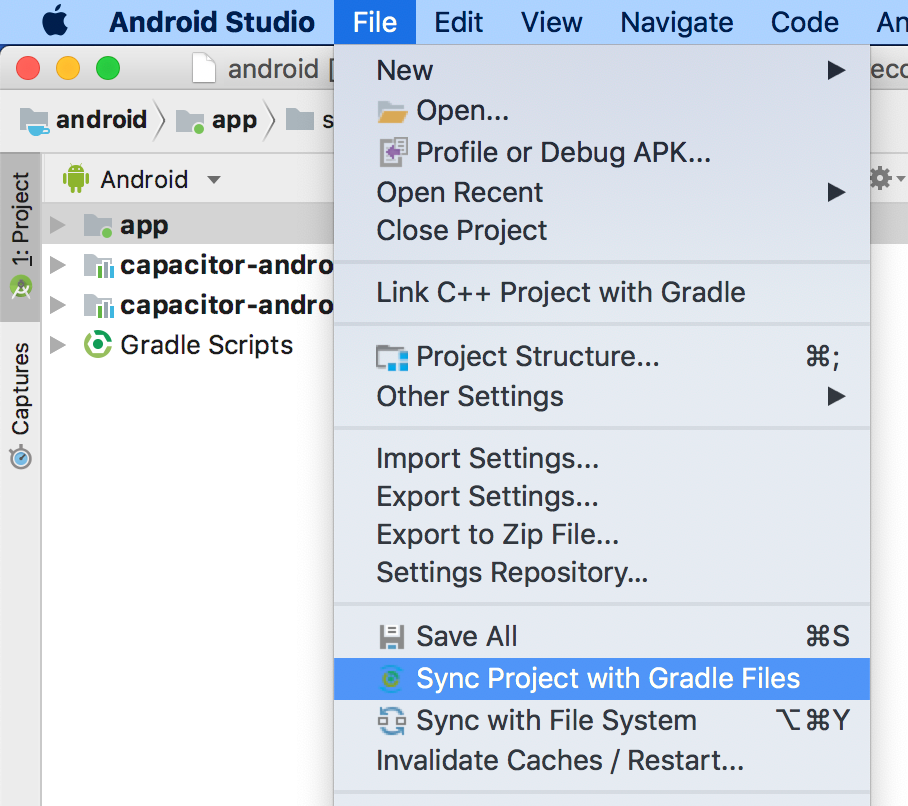
This error is often due to Gradle needing to be synced, something you’ll need to do periodically after updating dependencies and changing project settings.
To manually sync Gradle, open File -> Sync Project with Gradle Files from the main menu bar:
Error: “APK Can’t be installed”
An APK not installing to an Emulator or Device is often due to having an existing app with the same package name. You may see an error like this when trying to run your app:
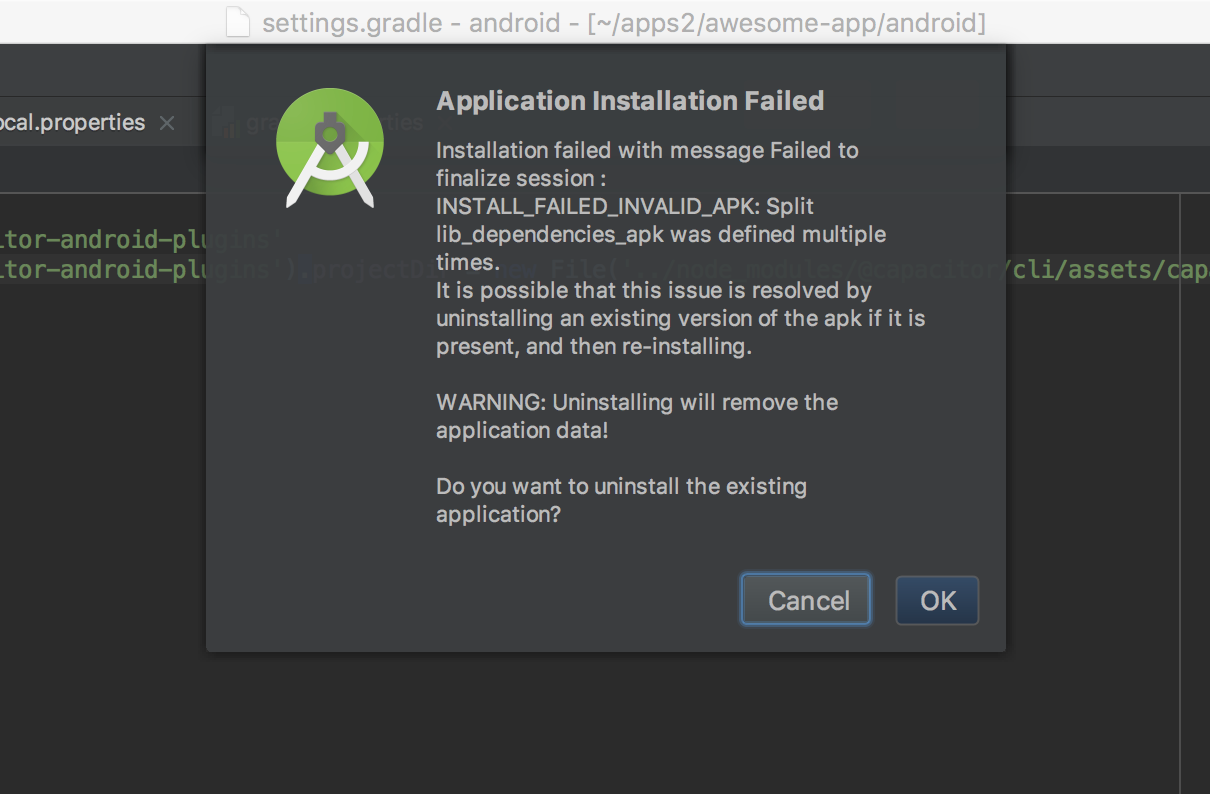
The solution is to remove any old apps and make sure your package name is up to date in
AndroidManifest.xml and not conflicting with other apps you are developing.
Finally, do a clean and rebuild just in case.
Recreating your project
Capacitor lets you manage your own Android project. Like any IDE-backed project, sometimes things get so out of sync that the only solution is to rebuild the project.
To do this, follow these steps:
- Copy any source code you created (such as Java files in
app/android/src, manifest files, or resource files) into a safe location outside ofapp/android. - Next, make sure you are running an updated version of the Capacitor CLI:
npm install @capacitor/cli@latest - Remove the android directory:
rm -rf android/ - Re-create the Android app from Capacitor:
npx cap add android - Copy your saved source files back into the project
Plugin Not Implemented
On Android, this can happen if Capacitor doesn’t find the plugins or can’t inject its code into the WebView.
First of all, make sure the plugin is installed and appears in the
package.json.
Then, run npx cap sync android.
Finally, use the “Sync Project with Gradle Files” button in the top right of Android Studio (the icon looks like an elephant). This will re-sync your native Android code to include the new plugin code and should allow use of your new plugin.
Also, if you are migrating from Capacitor 1 or 2, make sure you enabled the automatic plugin loading.
If still getting the “Plugin not implemented” error, make sure you are not using service workers, that prevents Capacitor’s and Plugins code from injecting. Or if you want to use them, you can use this workaround for making the injection work.


